Look Out! He’s On the Move!!!

Well, it’s finally happened!  After weeks and weeks of my wonderful husband hounding me to work on crawling with Grayson, he has finally figured it out!  And now, about 2 weeks after he took those first crawling steps on his own, he is a pro!

Luckily, he hasn’t learned how to climb the stairs yet, so we have a little bit of time to figure out the baby gate situation.  We have some baby gates that we used with the dogs, but they won’t work at the top of the stairs (where we need it the most), so we are currently looking at our options.

I bought two baby gates that are specifically for “top of the stairs” placement, but, of course, our banister on one side is too tall for the correct placement of the brackets, and the railing on the other side is too short, and the gate would hit it whenever it was opened.  Sigh….

Periodically, while Grayson is crawling from room to room (and bruising his little knees along the way), he’ll sit and take a quick break.

And these little breaks make for great pictures!

The morning is Grayson’s favorite time of day (other than when his Daddy comes home from work), and it also makes for glorious lighting in our living room and entryway.

This one is currently the wallpaper on my iPhone.  He is always so happy in the morning!  I love it!

On the move again!  He crawled back and forth from the front door to the living room probably ten times that morning.  He wasn’t chasing a toy or anything like that.  I think he was just relishing his new found mobility and exploring the house like he never could before.

“Oh hi, Kaylee!  Don’t mind me.  Just crawling around.  Don’t feel like you need to get up or anything.”

Don’t worry.  She won’t.

My personal favorite picture of the day.  I started singing his favorite song, “If You’re Happy and You Know It”, and he lit up like he does pretty much every time he hears it.  It’s my little trick to get him to smile for pictures, since he’s so used to the camera now.

If you look closely, you can see his three little teeth.  Two on the bottom, and one on the top that had just broken through a day or two before.  Since I took these pictures three days ago, one more tooth has made it’s appearance, so he now has a total of four teeth!  Poor little guy.  He’s gotten his last three teeth in the past 2 weeks, and at least one more is on it’s way within the next few days.  He’s been pretty miserable at times, but can still crack up at the most random things!  His new funny word is “teeth.”  Whenever I say it, he laughs and laughs.  Silly boy in his firetruck jammies.

10 months old! (And a recap of month 9)

I forgot to post last month’s 9 month photo, so today you get to see my little Grayson at both 9 and 10 months!  I can’t believe in less than 2 months he will be a year old!!!  I’m not ready for it!  Where did my little newborn baby go??

This was his 9 month picture.  He is already looking like a toddler!  I think all that hair is making him look older.  If he was bald he’d still look like a baby…..maybe.

This month had lots of exciting things happen!  Grayson finally learned to crawl on March 14th!  Here’s a video of him about a week after he crawled for the first time. It’s amazing how much he improved in such a short amount of time!

Grayson also got his first tooth on Valentine’s Day!  Now, at 10 months, he has 3 teeth.  Two on the bottom and one on the top that is just barely peeking through.  He also FINALLY started sleeping through the night!!!!

He loves walking around holding onto our hands, and he stomps or marches whenever he walks.  It’s the cutest thing!  Grayson also started swimming lessons this month, and so far he hates it!  He cries pretty much during the entire class, but we’re hoping that he’ll learn to love the water soon!  They had him go underwater on his first day, so I think he’s a little traumatized from that.  But his second lesson seemed a bit better than the first one.  Even though he was crying, he would still jump into the water (from a sitting position) when I counted to three.  Daddy had a nice little present after last week’s lesson when Grayson threw up all over him a few minutes after he got out of the water.  He must have swallowed a bit too much pool water!  Eek!

The weather is starting to get a little warmer (although it did snow this week), so we have ventured to the park a couple times.  The first time I put him on the swing (the baby one) he hated it because he kept falling forward whenever I would push him.  So the second time we went, I wadded up one of his blankets and put it in his lap so he wouldn’t fall forward, and he loved it!

Here is Grayson’s 10 month photo.  That little doggy keeps getting smaller and smaller!  I’m in denial that it’s actually my son that is getting bigger while the dog stays the same size.  *sniff*

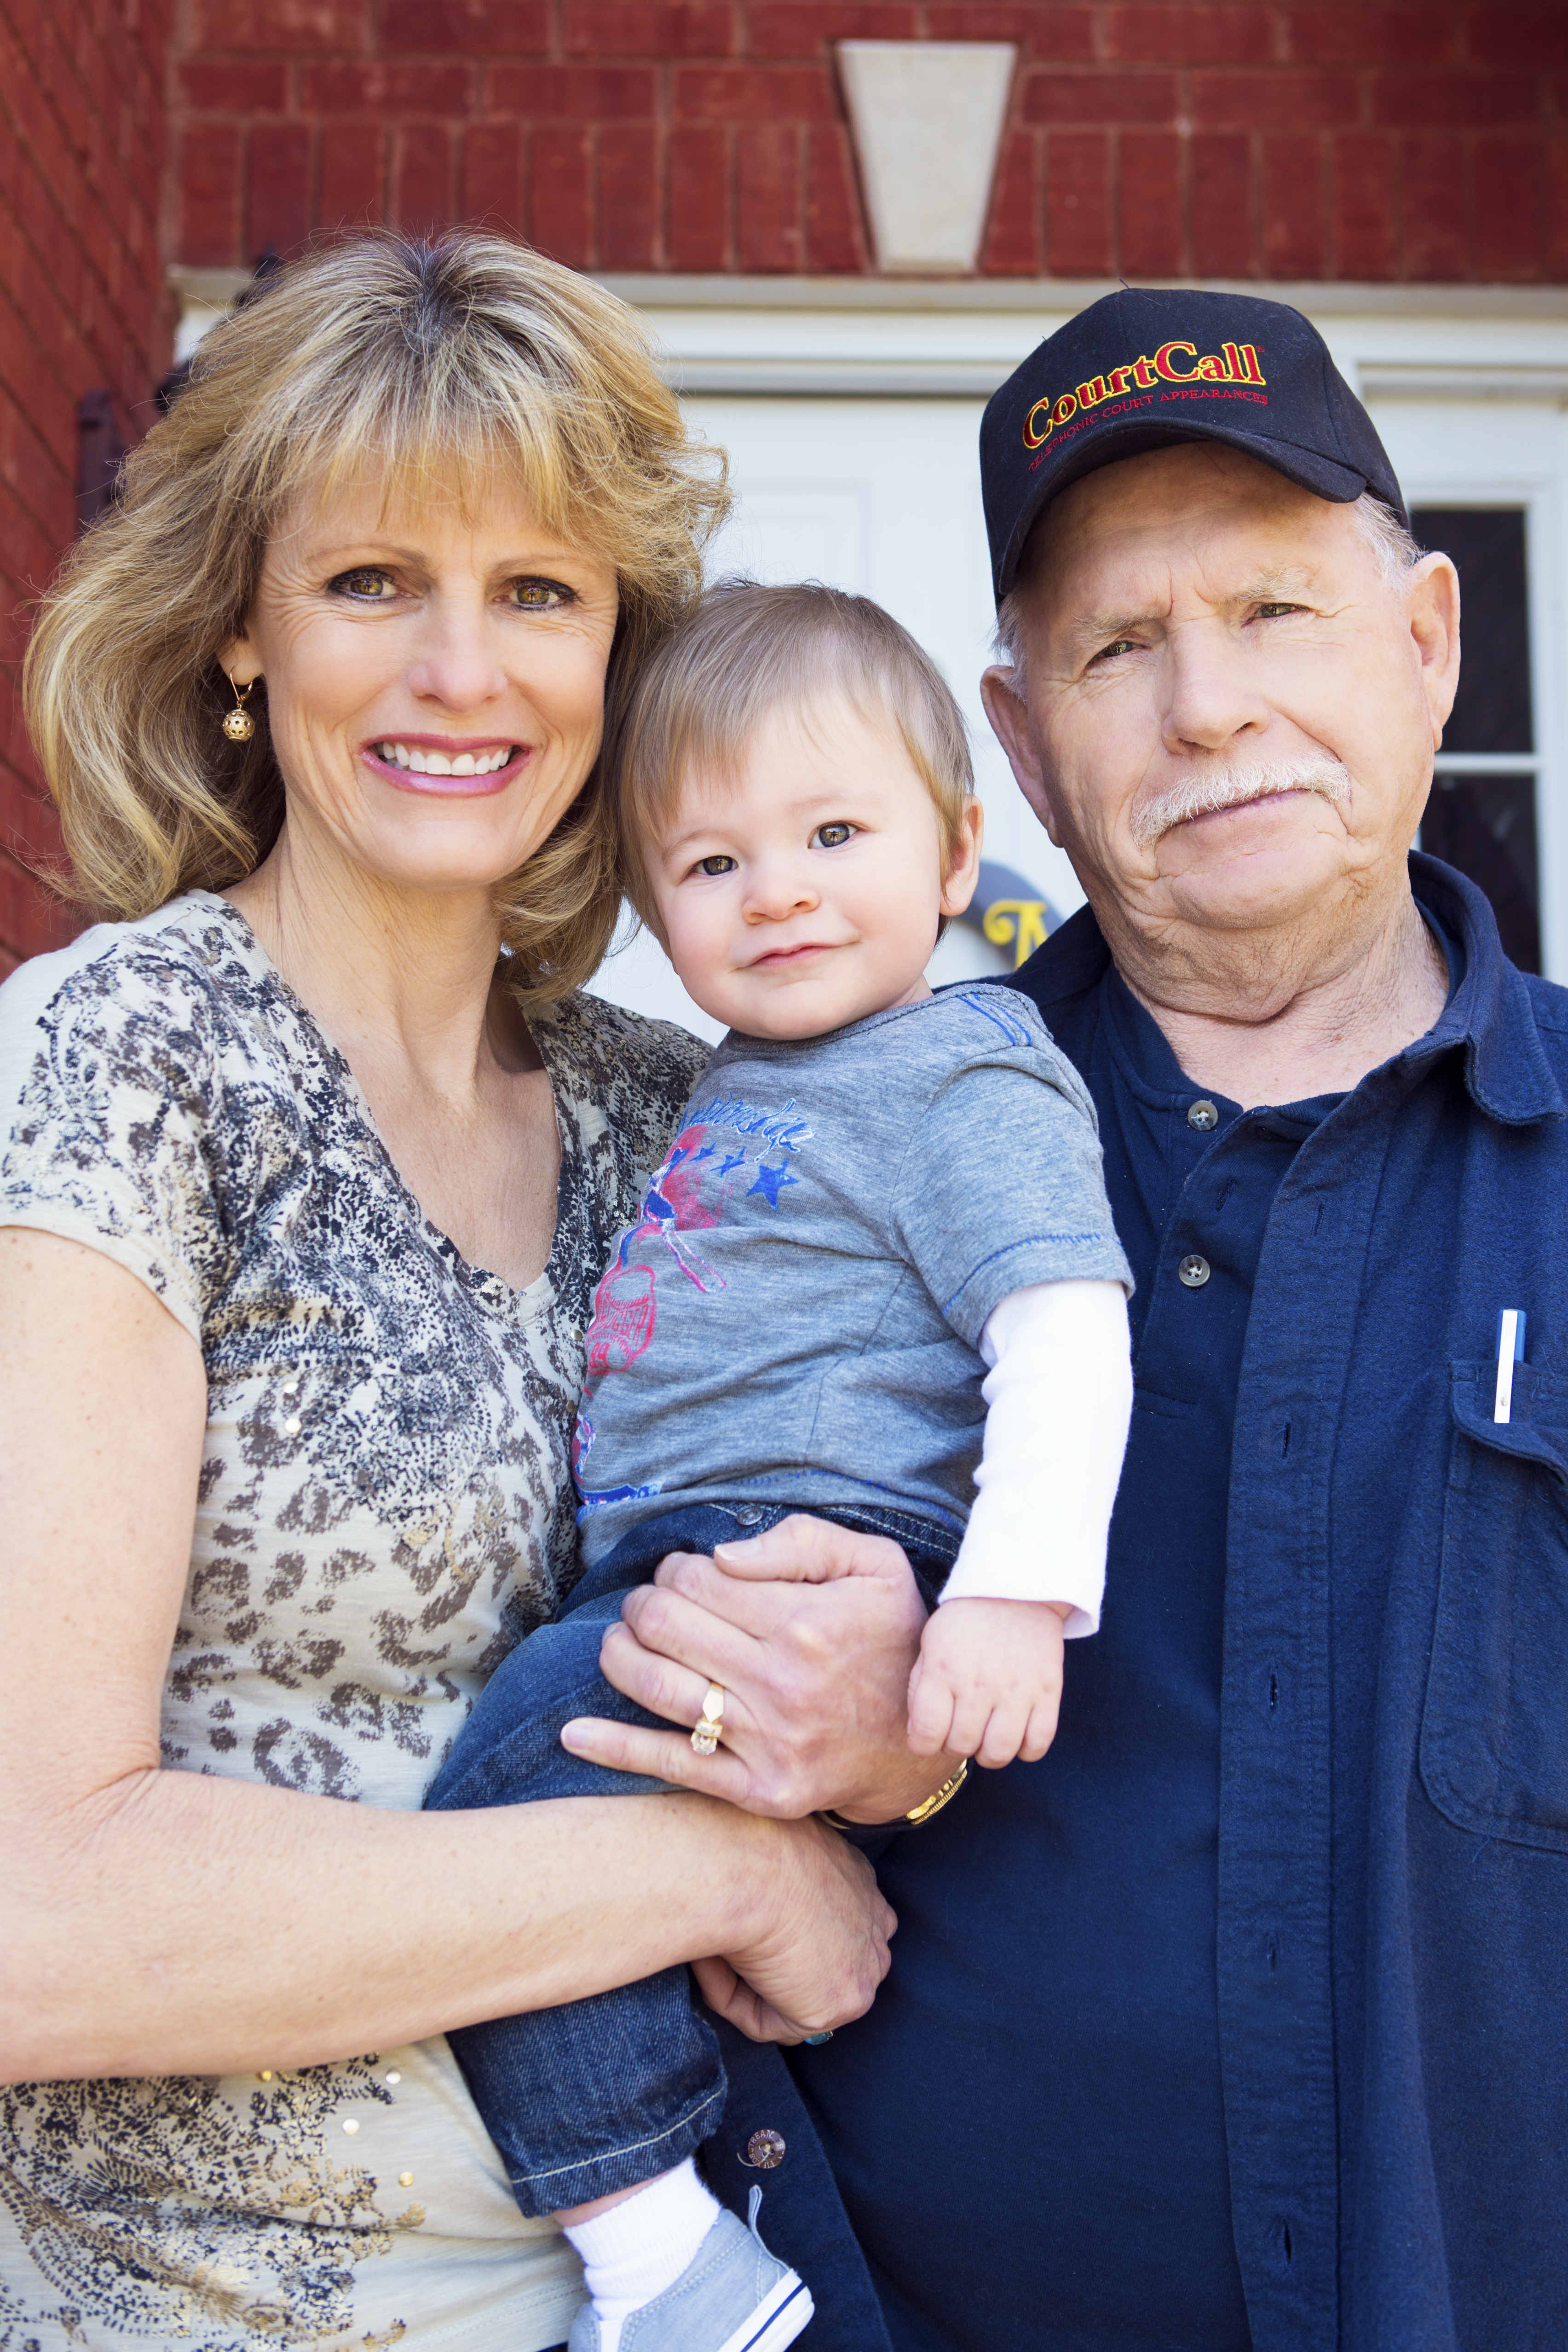
Last, but certainly not least, my parents came to visit from CA this past week, and Grayson had so much fun playing with his Nana and Papa!  It was so wonderful that he learned to crawl while they were there.  That just made it even more special!

DIY Curtain Tutorial

I’m proud to say that I have made all the curtains in our house.  In total, there are 5 sets: blackout curtains in our master bedroom, Grayson’s bedroom, and our bonus room, and blackout Roman shades in our living room.  The newest set (which is what I’ll be covering in this tutorial) is regular, unlined curtains in our kitchen.  Since I couldn’t think of any reason why I would need blackout curtains in my kitchen, I omitted the lining, which made these the easiest curtains I’ve made so far!

Here’s what you’ll need:

  • home decor fabric (mine was 54″ wide)
  • ruler
  • scissors or rotary cutter
  • sewing machine
  • thread
  • pins
  • iron and ironing board

First, you’ll need to measure your window to determine how much fabric you’ll need.  My window is 68″ wide x 84″ tall.  The width doesn’t really matter too much unless your window is REALLY large or REALLY small, in which case you’ll want to adjust your fabric accordingly.  As far as the height goes, this will determine how many yards of fabric you’ll need.  Since I knew I wanted my curtains to hang about 6 inches above the top of the window, I added 6″ to the initial 84″ measurement, which brought my total to 90″.  So determine where you want your curtains to hang and measure from there.  Then you’ll need to add 10 inches to that measurement (2 inches for the top hem and 8 inches for the bottom hem).

So, here was my measurement:

90″ + 10″ = 100″

That was the total for one side.  Remember you’ll need to make two curtains.  So my total fabric length needed to be 200 inches.  Since I like to play it safe and have some extra fabric just in case, I bought 6 yards of fabric (or 216 inches).

Measure and cut your fabric.  You may need to fold your fabric in half lengthwise once or twice to be able to cut in a straight line if you’re using a cutting mat (which I highly recommend).

Once your fabric is cut, turn it so the wrong side is facing up.  Fold and press the side of your fabric (going lengthwise) one inch, or if your fabric has designer and color information on the side like mine did (see picture above) you can fold it until you start to see the pattern on the right side of the fabric.

Fold and press one more time so that you have a one inch hem going down the length of your fabric.

Pin in place and repeat on the other side.

Sew both hems as close to the edge as possible.  Don’t forget to back stitch at the top and bottom of your fabric to secure the thread.

Here you can see my stitch placement on the hem.

Time for the bottom hem.  Make sure your fabric is still facing with the wrong side up and turn up your fabric 4 inches (across the width) and press.

Fold up 4 inches again and press.  This will create a nice thick hem at the bottom.

Pin in place and sew as close to the top edge as possible (just like you did with the sides).

Here’s another example of my stitch placement on the bottom hem.

We’re almost done!  Time for the top and final hem!  Turn and press your fabric one inch.

Turn up one inch again and press.

Pin in place and sew.  You’re all done with the sewing!!! Now we just need to attach our curtain rings and hang it up!

These curtain rings with the clips are such a time saver, because you don’t have to worry about making holes for the rings!

Tada!!!!  Beautiful new curtains, and you made them yourself!!

These curtains add that special touch I was looking for in my kitchen.  I can’t believe it took me almost three years to decide this window needed some pzazz!

Here’s a picture of them closed.  They’re so colorful and cheery!

I hope you enjoyed this tutorial!  If you have any questions, please feel free to ask in the comments section.